Introduction to Planaria

CURRICULUM ALIGNMENT:
- The theory of evolution by natural selection explains the diversity of living things and is supported by a range of scientific evidence
- Describing biodiversity as a function of evolution
BACKGROUND:
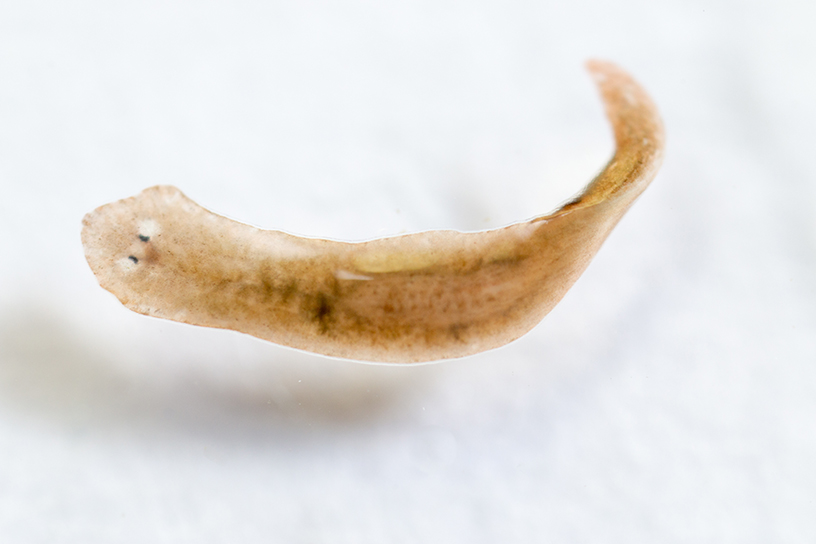
Planarians are part of the Dugesia genus and are a simple animal with bilateral symmetry. Most Planaria are aquatic, but there are some terrestrial species. They reproduce both sexually and asexually. Planaria are acoelomates with three germ layers and are an important model organism in aging research. In this practical, students will work individually or in pairs to examine the anatomy and behaviour of a Planarian.
PREPARATION - BY LAB TECHNICIAN
Preparing the Culture
-
Open your Planaria culture as soon as it arrives.
- Loosen lid and place it in a dark cupboard until ready for use. Planarians tend to foul their water and require frequent water changes. Refer to the Planaria Living Care Guide for more care instructions.
- Prepare 100 mL of a 5% salt solution by dissolving 5g of salt (NaCl) in water.
Preparing Workstations
- Provide each workstation with the following materials.
- Petri dishes
- Container of pond water or ‘aged’ water
- Pipettes
- Planaria culture
- paper Towel
- 5% Salt Solution in dropper bottles
- Microscope Slide
- Cover Slips
METHOD- STUDENT PRACTICAL
Transferring Planaria
- Using a pipette, fill a petri dish with enough pond water to cover the bottom.
- To transfer the Planarian, dislodge it by filling a new pipette with water and directing a stream of water at it. Then gently draw the Planarian into the tip of the pipette using gentle sucking pressure. Ensure the Planarian remains at the tip and no farther.
- Transfer the Planarian quickly before it has a chance to attach to the inside of the pipette.
- Observe the Planarian in a petri dish on a flat surface and note what you see.
Planarian Reaction to Water-Blast
-
Fill a new pipette with pond water.
- Position the filled pipette tip approximately 1 cm behind the planarian specimen and gently squeeze the bulb to release water. Be careful not to squeeze too hard as it may cause the Planarian to be dislodged from the bottom of the dish.
- Observe the Planarian’s reaction, if any, to the puff of water and record the results.
- Repeat this action to the front of the Planarian. Observe whether the reaction is the same and record the results.
Revealing Planarian Bias
-
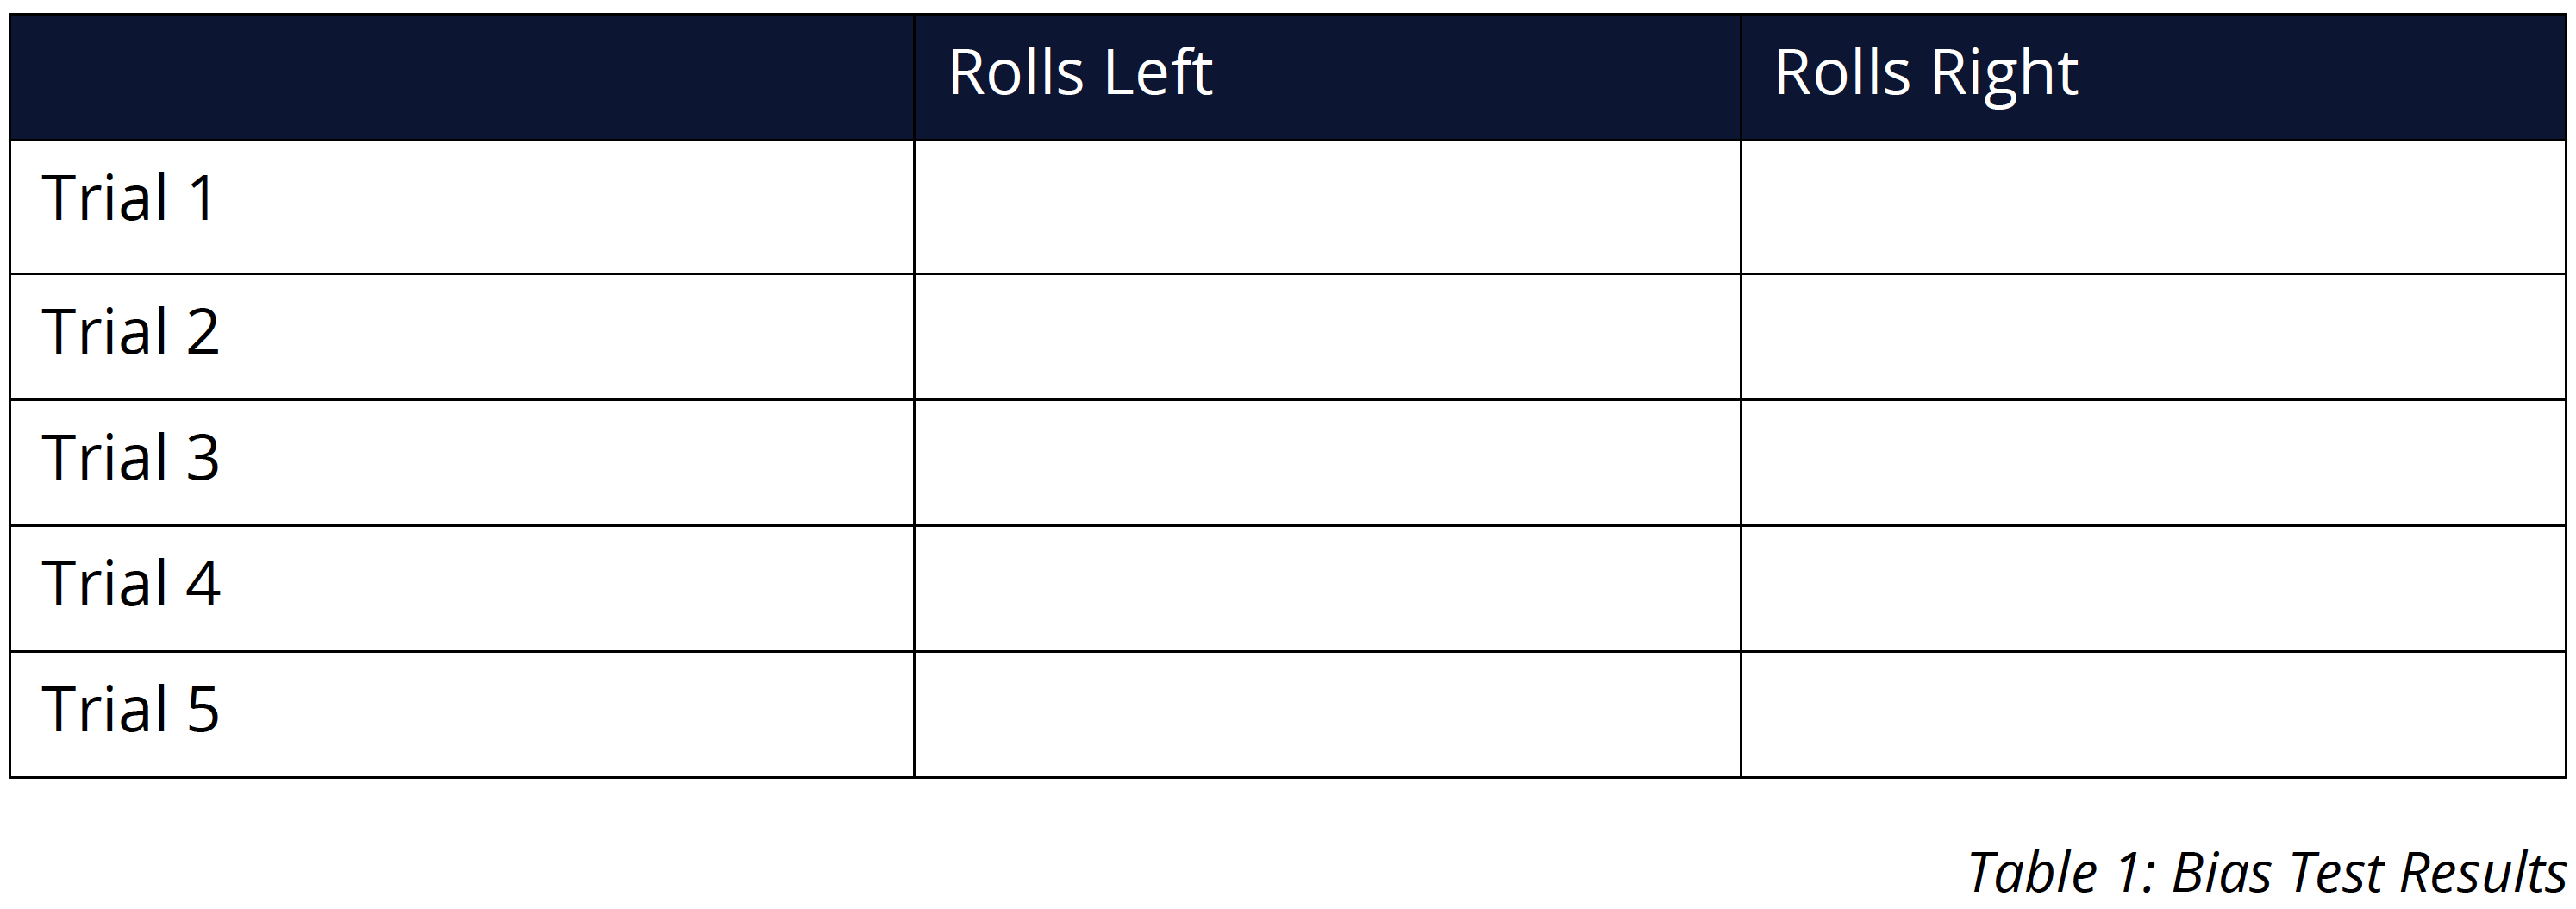
Position your pipette towards the front end of the Planarian direct a water current at the animal that is powerful enough to make it roll backwards.
- Observe the Planarian right itself and record which side it rolls onto.
- Repeat this test for a total of 5 trials and record the results to reveal whether it shows bias.
Studying Taxis
- Take a strip of paper towel and dip it into a solution of 5% Sodium Chloride (table salt) solution until saturated.
- Position the end of the strip approximately 1.5 cm in front the Planarian while it is moving.
- Observe whether the Planarian movements change and record your results.
Observing Planaria Under the Microscope
-
Transfer the Planarian onto a slide and ensure the coverslip effectively constrains the Planarian movements.
- Remove any excess water by wiping paper towel along the edge of the coverslip.
- Place the slide under a microscope and observe the Planarian. Adjust the iris diaphragm to increase contrast. The digestive system should now be visible as a darker pattern located inside the body.
- Observe the digestive tract as it divides into right and left parts near the midpoint of the body. You should be able to see the pharyngeal cavity; a much lighter, elongated area between the halves.
- Switch to low power and examine the full length of the Planarian’s body. Begin with the edge of the head and move down towards the posterior. The auricles or ‘ears’ of the Planarian project outwards from both sides its head and create a wavy pattern in the water. Observe this pattern and reduce light intensity, where necessary, to see the waves clearer.
Observing Stained Planaria Cross Sections
-
Place the whole mount Planaria slide on the stage and observe at 40X. Draw what you see.
- Place the 2 transverse slides on the stage in turn and observe. Identify the following 3 tissue layers if possible: Epidermis (the outer tissue layer), Gastrodermis (the epithelial tissue lining the intestinal cavity and pharynx) and Mesoderm (the third primary embryonic tissue layer). Draw what you see.
OBSERVATION AND INVESTIGATION
Transferring Planaria
-
Ask students to describe what they observed during this stage.
- Lead a class discussion on whether the Planarian was active or passive, and how this can be identified.
- The majority of animals exhibit radial or bilateral symmetry. If an animal with bilateral symmetry is divided along the body axis, the two sides will appear near identical. Radial symmetry is commonly found in wheels, or jellyfish and refers to a body that may be divided along many different planes without any distinct difference between the left or right sides. Based on their observations, challenge students to answer whether Planarians exhibit radial or bilateral symmetry.
- During class discussion, ask students if there is any evidence that suggests Planarians have anterior and posterior ends.
- Cephalization is a concentration of nerve tissue located at the anterior end of an animal. Some simpler animals, such as sponges, do not exhibit cephalization. However, mammals commonly exhibit a high degree of cephalization in the form of a brain. Based on their observations, ask students to describe any evidence of cephalization in Planarians.
- Planarians can be described as being flattened dorsoventrally. Ask students to describe what this means based on their observations.
Planarian Reaction to Water-Blast
-
Ask students to describe the Planaria’s reaction to the puff of water.
Revealing Planarian Bias
- Ask students to fill out a table with the results of their bias tests.
 Studying Taxis
- Taxis describes the movement an organism makes in response to a stimulus. The term, ‘positive taxis’ describes movement toward a stimulus; whereas ‘negative taxis’ refers to movement away from a stimulus. The movement of a negative taxis can also be referred to as avoidance. There are multiple categories of a taxis, based on the nature of the stimulus. Movement in response to light is referred to as phototaxis and geotaxis is in response to gravity. During the experiment, students added 5% Sodium Chloride to the solution to test whether planarians respond to a chemical stimulus. This was conducted to test for chemotaxis.
- Ask students to identify any change in the Planaria’s movement and whether the planarian exhibited a positive or negative taxis.
Ask students to:
-
Draw a diagram of the Planarian.
- Draw and label the digestive system.
- Draw and label the digestive tract divide and pharyngeal cavity.
- The auricles or ‘ears’ of the planarian project outwards from both sides its head and create a wavy pattern in the water. The wave pattern is the result of thousands of cilia beating. These cilia can also be found on the ventral surface but are most evident near the anterior.
- Determine if they observed a wavy pattern in the water.
Task students with labelling the anterior, middle and posterior of the Planaria. The outer layer of tissue, the epidermis is derived from the ectoderm; an embryonic primary tissue layer. A number of the cells contain rhabdites; dark-staining bodies that are secreted to the exterior. These bodies then dissolve to form mucous that coats the body. Epithelial tissue lines the intestinal cavity and pharynx. The gastrodermis is composed of endoderm; another embryonic primary tissue layer. The final primary embryonic tissue layer is the Mesoderm, which is formed by muscle and loose connective tissue (mesenchyme). The mesoderm provides the majority of the tissue between the epidermis and gastrodermis. Neoblasts (also called free cells and formative cells) are found distributed in the loose connective tissue of the mesoderm. These cells have the ability to transform into other cell types and play an active role in regeneration. Rhabdites may also be found in mesoderm cells. Task students with identifying and labelling the following three tissue layers: Epidermis (the outer tissue layer), Gastrodermis (the epithelial tissue lining the intestinal cavity and pharynx) and Mesoderm (the third primary embryonic tissue layer).
EXTENSION EXERCISE:
A fun and interactive way to illustrate negative phototaxis is to hold a Planaria race. In small groups, students can set up the finish line by drawing a line that divides a petri dish into two equal halves. Ask students to fill the bottom of the dish with a small amount of pond water and then cover half of the dish with a piece of dark paper. After the race track is set up, students can place a few Planaria into the petri dish on the side with no cardboard. By exposing the petri dish to additional light, using a torch the student groups can ‘race’ their Planaria to see who’s worms crawl for cover of darkness the quickest. The winning group is the one who has all of their Planaria under cover.
TEACHER TIP:
You may like to cut the end of the plastic pipette at a 45 degree angle to make the opening larger. This will make it easier for students to collect the planaria into the pipette, and will prevent the specimen from getting stuck
 Time Requirements
- 45 mins
 Material List
- Planaria Culture
- Pond Water
- Microscope Slides
- Transfer Pipettes
- Coverslips
- Petri Dishes
- Dropping Bottle
- Stereo Microscope
- Compound Microscope
- Paper Towel
 Complimentary products
- Planaria, entire, injected, intestine, WM slide
- Planaria, thru intestinal region,TS slide
- Planaria, pharynx region, TS slide
 Safety Requirements
-
Wear appropriate personal protective equipment (PPE).
- Wash your hands thoroughly before and after the practical.
- Do not release any organisms into the environment.
- Disinfect work areas before and after the practical.
