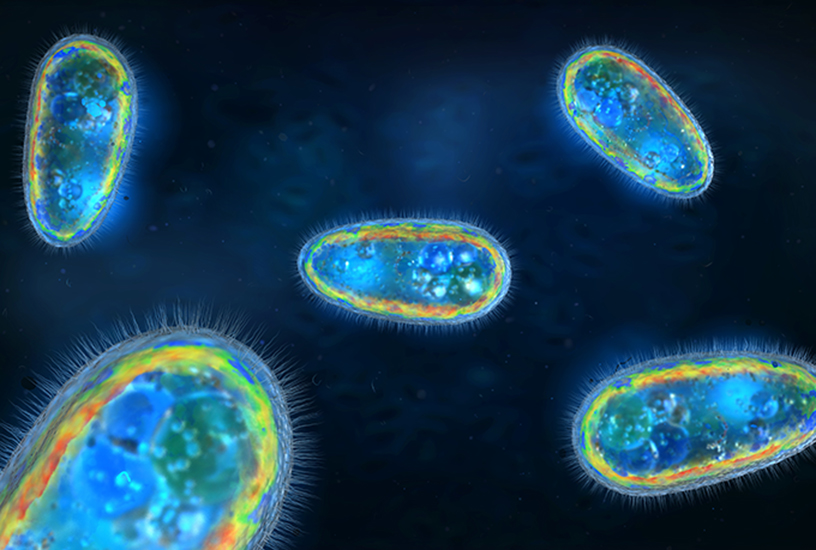
Microbes all around us

CURRICULUM ALIGNMENT:
- Cells are the basic units of living things; they have specialised structures and functions
- Recognising that cells reproduce via cell division
BACKGROUND:
This practical is designed to illustrate how microbes are a constant presence in our daily lives, despite us rarely being aware of them. Students are tasked with collecting air, pond water and soil samples. This allows students to practice safe microbial growth within a laboratory setting. Students are also be required to observe, recognise and describe the microbes on the agar plates. By taking part in this practical, students gain an understanding of different microbes and the different environments they inhabit.
METHOD:
-
Identify a microbe habitat you would like to investigate.
- Using a marker, Label your 3 agar plates with a record of your name, date and the habitat. Do not remove the lids as they need to remain sterile. It is important to wear gloves throughout this procedure, especially when collecting samples and inoculating your plates.
- Expose the 1st agar plate to air in the classroom. Replace lid and tape it closed.
- Carefully drop approximately 0.5-1.0 mL of pond water onto the 2nd agar plate using a sterile pipette.
- Spread the pond water over the surface of the agar using a sterile swab. Replace the lid on the agar plate and tape it closed.
- Using a plastic vial, collect a small soil sample. Replace the cap on the vial before going back to the classroom.
- Using a sterile pipette, drop enough sterile/boiled water into the vial to create a ‘soil’ solution.
- Carefully drop approximately 0.5-1.0 mL of soil solution onto the 3rd agar plate.
- Using a sterile swab, spread the soil solution over the surface of the agar. Replace the lid and tape it closed.
- Ensure both plates are exposed to microbes in the same manner
- Leave the three agar plates on a flat surface with the lid side facing upwards.
- Your teacher will collect your plates and incubate them until your next class.
OBSERVATIONS AND RESULTS
Students are tasked with observing the growth of microbes on the agar plates after approximately 48 hours. Once sufficient growth has been achieved, ask students to:- Identify and describe the habitat they were investigating.
- Analyse any differences between the three agar plates of their experiment.
- Sketch each plate in detail, and describe what they see growing on their agar plates.
- Identify why it is important to have control plates.
- Compare and contrast their results with the plates from their classmates who investigated microbes growing in the same habitat.
- Compare and contrast their results with the plates from classmates who investigated microbes growing in different habitats.
- Suggest any reasons for varying results between different and same habitats.
- Note: Variation in the plates may result naturally or from differences in technique. Samples taken from different habitats are likely to show different results.
INVESTIGATIONS
- Students should effectively describe the specific habitat they investigated, including: natural elements, temperature, humidity and access to sunlight.
- Students should describe any differences between the plates; describing the colour, texture, size and dispersion of growth.
- Detailed drawings should show the variety of colonies and give an idea of the plated ‘area’ covered by each colony.
- Variation in the plates may result naturally or from differences in technique.
- Samples taken from different habitats are likely to show different results.
- Students should understand that diverse conditions in different places will be more hospitable to some kinds of microbes over others.
TEACHER TIP:
Test students’ hands after washing using microbial testing products. The test should reveal some microbes remain on the student’s hands. This is a great way to reinforce the idea that microbes are on every surface; even on their hands.
Teach good hand-washing technique - magically using Glitterbug Potion
 Time Requirements
- 120 min
 Material List
- 3 Nutrient Agar Plates
- Pond Water
- Sterile Pipettes
- Sterile Swabs
- Plastic vials 7mL
- Soil sample
- Sterile water
- Gloves
- Sticky tape
- Marker
 Safety Requirements
- Apron Required
- Safety Gloves Required
- Safety Goggles Required
- Wash hands thoroughly before and after the activity.
